
Create and edit HTML content with a powerful visual page builder on Editor42, a TinyMCE-compatible editor
Q: What can be better than TinyMCE?
A: Editor42, a maintained TinyMCE-compatible editor, + a free set of widgets, custom templates, modern UI, Flmngr file manager, Image42 (formerly ImgPen) image editor, Bootstrap column editor, and visual configuration: N1ED.
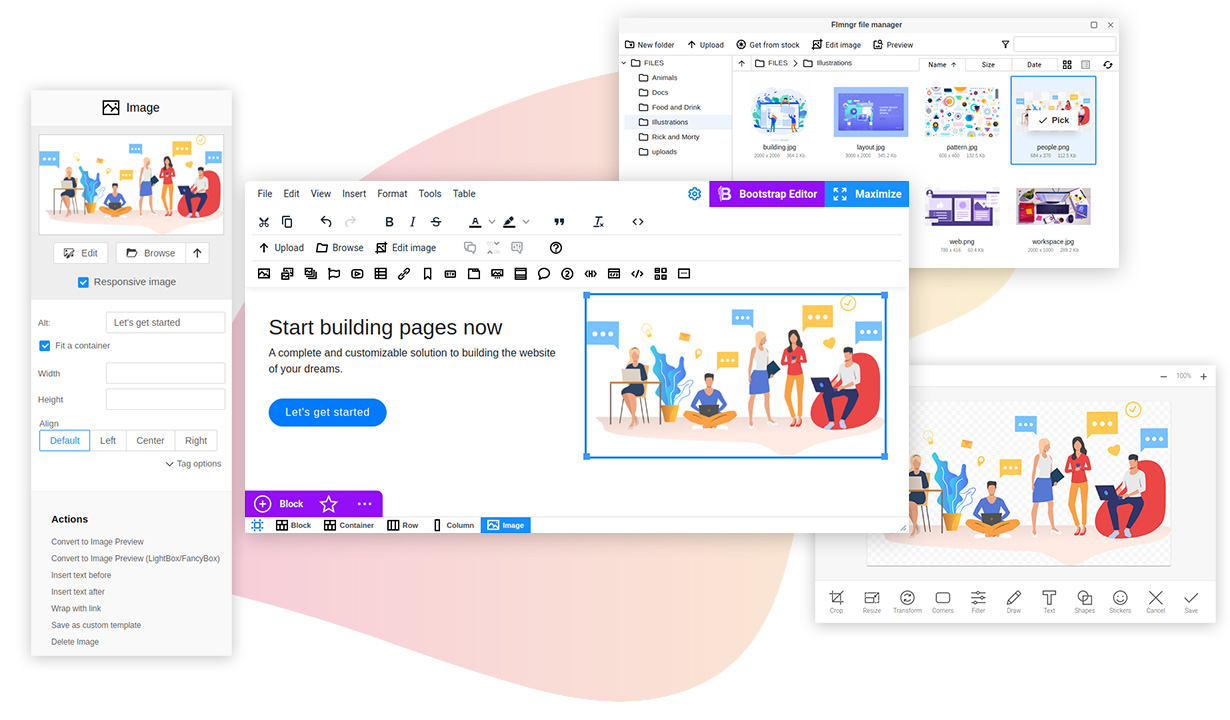
This module will help to integrate N1ED (Editor42 + all the free add-ons that power it up) into your React app.
With npm installed, run:
$ npm install --save @edsdk/n1ed-react
See full React + N1ED installation manual for more.
Since 2.0 the component loads N1ED with Editor42, the editor N1ED's own snippet uses. Editor42 is TinyMCE-compatible: the same init options, the same editor API, the same @tinymce/tinymce-react props. What changes is the engine itself, so its CSS classes are editor42-t-* instead of tox-* and the global is window.editor42 (window.tinymce points to it too). Check your own styles and tests against that.
Version 1.x keeps loading TinyMCE 6 and keeps working. To stay on it, keep "@edsdk/n1ed-react": "^1.0.19" in your package.json: a ^1 range never updates to 2.x by itself.
Here is an example of the usage of TinyMCE + N1ED in your React component. This is a JS sample, see the links below for TypeScript and JavaScript GitHub sample projects.
In this example we use add N1ED and additionally (this is an optional) define a custom toolbar and create inside it a custom TinyMCE button in order to show how to work with basic TinyMCE features from N1ED.
import React from 'react';
import {N1ED} from '@edsdk/n1ed-react';


class YourReactComponent {

    handleEditorChange(content, editor) {
        console.log('Content was updated:', content);
    };

    render() {

        return <div>
            Edit the content:
            <N1ED
                apiKey="N1ED24RR1234123412341234" // the demo key: use your own key later
                initialValue="<p>N1ED react demo</p>"
                onEditorChange={this.handleEditorChange}

                init={{
                    height: 500,
                    toolbar: 'undo redo | styleselect | bold italic | alignleft aligncenter alignright alignjustify | outdent indent | myCustomToolbarButton',
                    setup: (editor) => {
                        // Just a sample of creating a custom button
                        // N1ED does not block this TinyMCE feature
                        // and also does not conflict with TinyMCE plugins
                        console.log("TinyMCE initialized");
                        editor.ui.registry.addButton('myCustomToolbarButton', {
                            text: 'My Custom Button',
                            onAction: () => alert('Custom button clicked!'),
                        });
                    },
                }}
            />
        </div>;

    }

}
Important note:: do NOT use TinyMCE as a controlled component (do NOT try to control the state of TinyMCE with a pair of initialValue/onEditorChange). TinyMCE supports only setting of initial value once and then notifies your code about its change using the onEditorChange callback. React TinyMCE implementation is a classic uncontrolled component.
All the attributes of <N1ED> element are described in official TinyMCE React docs: the component drives Editor42 through the same props.
The only difference is:
-
apiKeyattribute here is related not to TinyMCE Cloud, but to N1ED cloud and is optional until you need to visually configure it or add some other add-on from N1ED Ecosystem. -
You do not need to define
pluginsparameter with theN1EDvalue: it is already defined until you specify something another.
We have two examples of how to use the N1ED React component:
@edsdk/n1ed-react uses @tinymce/tinymce-react module inside and delegates all calls to the editor, except loading N1ED and Editor42 from the N1ED cloud (https://cloud.n1ed.com/v/latest/sdk/n1ed.js), which makes it possible to configure your editor visually online in the Dashboard.
This module is written with TypeScript and can be used in both JS and TS projects. You do not need to install typings separately, they are built into the project.
This module is released under LGPL v3 and free to use in your projects. N1ED itself is also a free product.