Website for Arctic Designs - EComm 3D Printing Site
Coding Time:
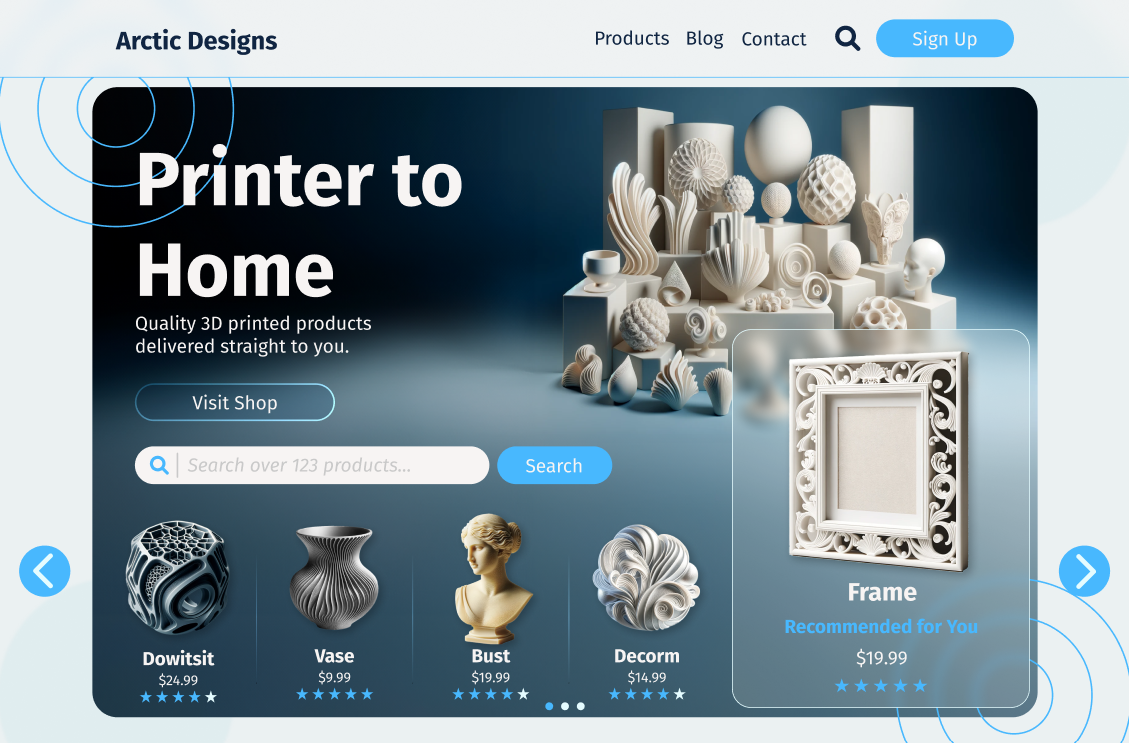


- Clone the Repository
- Create a .env file with the following:
ATLAS_URI=[Your MongoDB Endpoint]
API_ENDPOINT=[Your Server Endpoint (or local: http://127.0.0.1:8080)]
- Run the following commands (for Windows)
> npm install
> cd server
> python -m venv venv
> .\venv\Scripts\activate
> pip install -r requirements.txt
- To run the application, run the following command in the terminal which is in the server directory:
python .\lambda_function.py - Open another terminal in the main directory, and run
npm run dev - Go to https://localhost:3000 to see the live local site
The Product Manager is included with the server files, and some of the lambda logic requires the Product Manager for code simplicity. To set up the Product Manager (Direct or Visualizer mode) follow the following steps:
- Navigate to the server folder, and run the virtual enviornment.
- Run
pip install -r pm-reqs.txt - Follow the steps in this guide to create a project.
- In the left-side menu, go to APIs & Services
- Select Enable APIs And Services
- Locate the Google Drive API and enable it
- In the left-side menu, go to IAM & Admin
- Go to Service Accounts
- Select Create Service Account
- Enter the Service Account details (Account name, permissions, etc.)
- On the newly created service account, click the three dots, and select Manage keys
- Add a key, and choose JSON mode.
- Take the JSON from the newly created key, and save it to your .env file as shown:
ATLAS_URI=[Your MongoDB Endpoint]
API_ENDPOINT=[Your Server Endpoint]
CREDENTIALS='[Your Service Account Credentials Here]'
- Now, you should be all set to use the Product Manager!
To use the Product Manager, follow these steps:
- Open a new terminal
- Navigate to the server directory (
cd server) - Connect to the virtual environment with
.\venv\Scripts\activate(for Windows) - Install the Product Manager requirements with
pip install -r pm-reqs.txt - Run the Product Manager with
python .\product-manager.py - To run the Product Manager without the Excel interface (Direct mode), do
python .\product-manager.py -d
Once the Product Manager in Direct mode has started, you can type help to get all available commands.
To use the Product Manager in Visualizer Mode, simply fill out the categories with the corresponding data. Selecting a cell in a column which stores array-like values will open it up in a new sheet for easier editing (Macros must be enabled to use this function).
When adding products, only fill out the Collection, Name, Description, Colors, Price, and Tags columns. Images can be added by saving the image files to the images folder in the server directory. Product ID, Image links, Date Added, and Rating will all be automatically generated once the sheet is saved.
Any column of a product can be edited and will update when the sheet has been saved.
A product can be deleted by removing all information in the product's row. The product will be deleted from the database once the sheet has been saved.
Between each save, the Product Manager will close and reopen the visualizer to update the data (Excel cannot be edited while open).